New · on every plan
Make your own looks.Apply them to the whole wedding.
The photo editor inside LensPilot. Build the look your studio is known for, see it on your own photos for free, and apply it to one photo or a whole gallery.
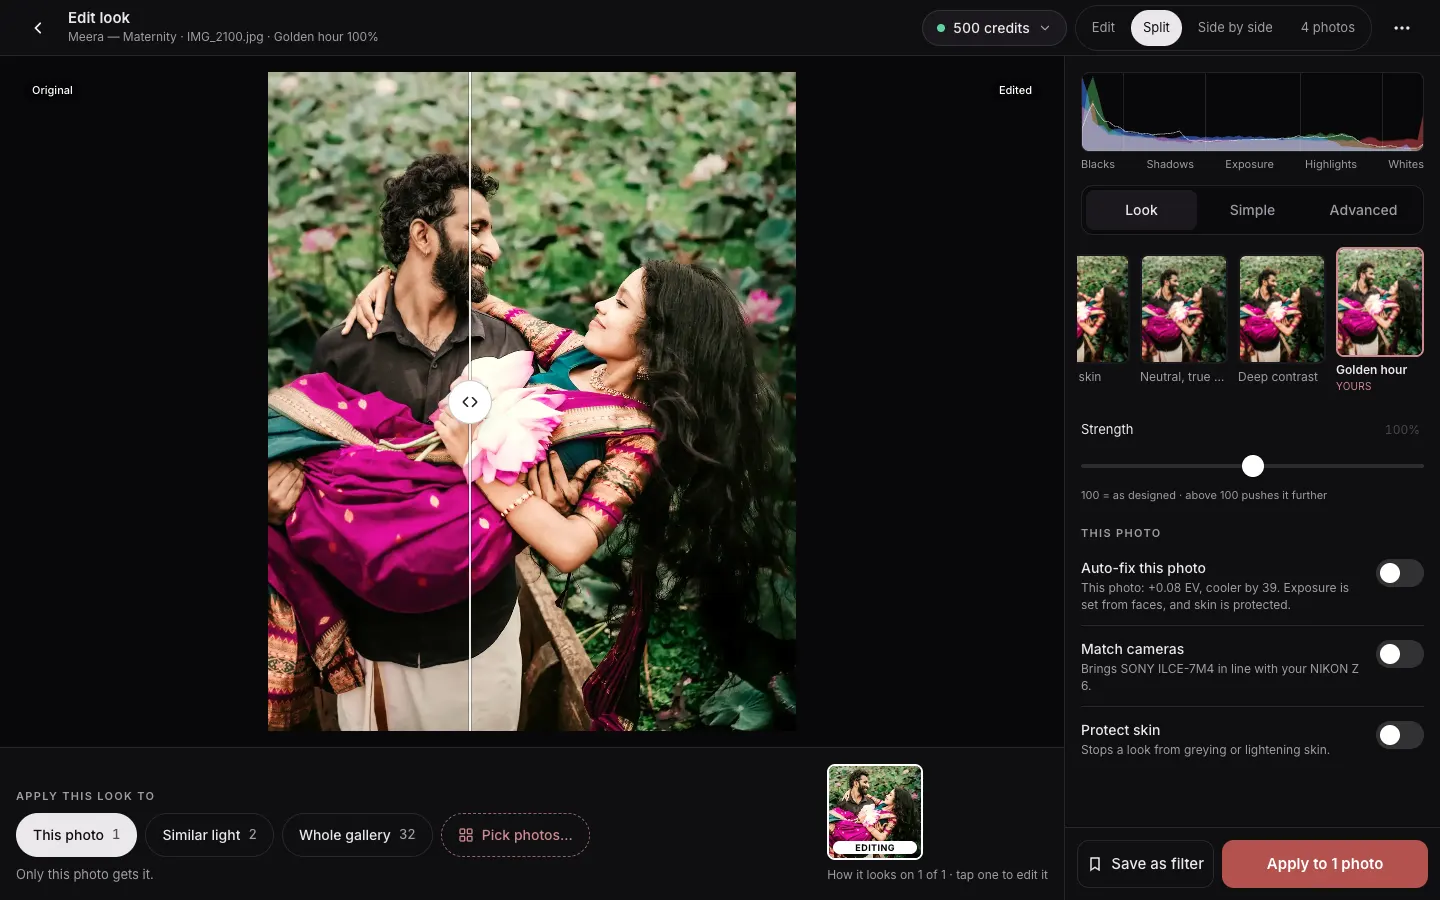
Your look, not a menu of tones
Start from one of ours or from nothing, set warmth, exposure, contrast and skin yourself, and save it as your studio's filter. Paid plans add curves, colour grading and your Lightroom presets and LUTs.
See it before you spend
Hold the photo for the original, drag a before/after slider, or check it on four photos at once. Trying looks never uses a credit.
One photo or the whole wedding
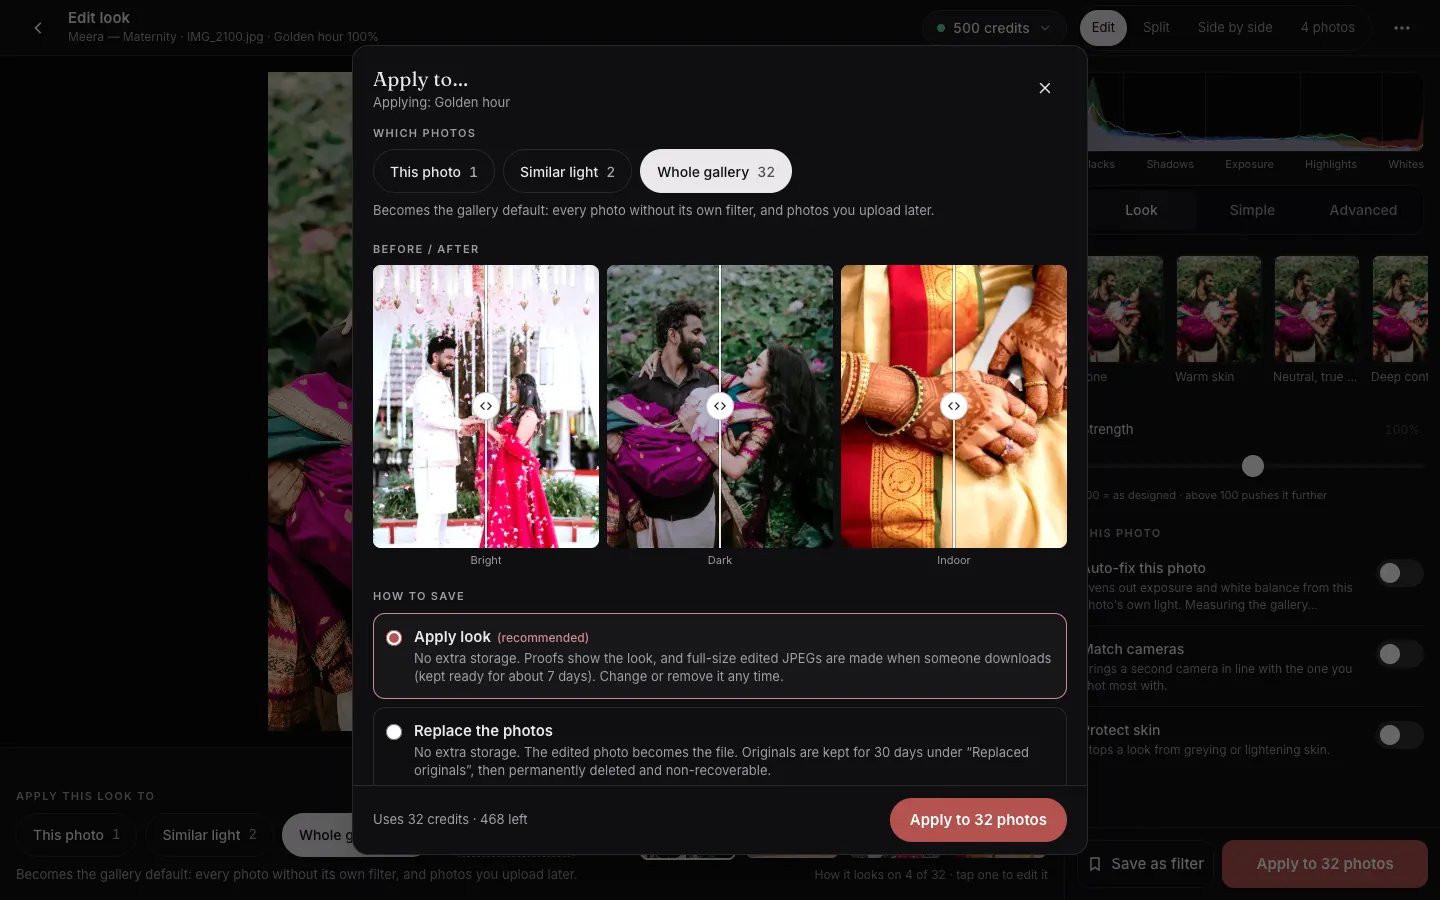
Apply to this photo, photos in similar light, or the whole gallery — new uploads follow it too. Keep your originals, or replace them and keep the originals for 30 days.
Looks, ready-made or your own
Start from one of ours, bring the presets you already use, and pay only for the photos you apply a look to.
Ready-made looks
Upload your own looks
Preview free
Pay only for photos you apply
Your original is kept
How it works
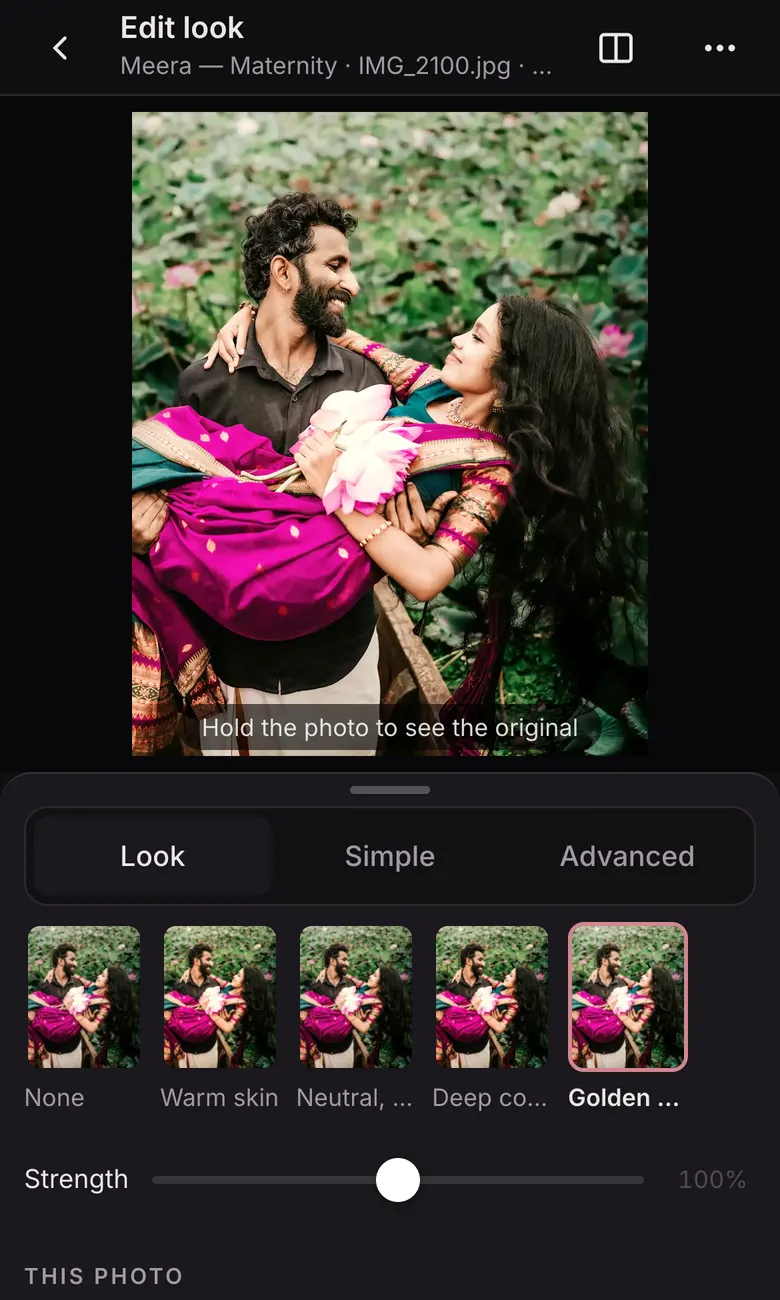
Step 1
Pick a look, or build one
Look tiles show each filter on your own photo. Simple has the sliders most edits need; Advanced has curves, colour and grading.
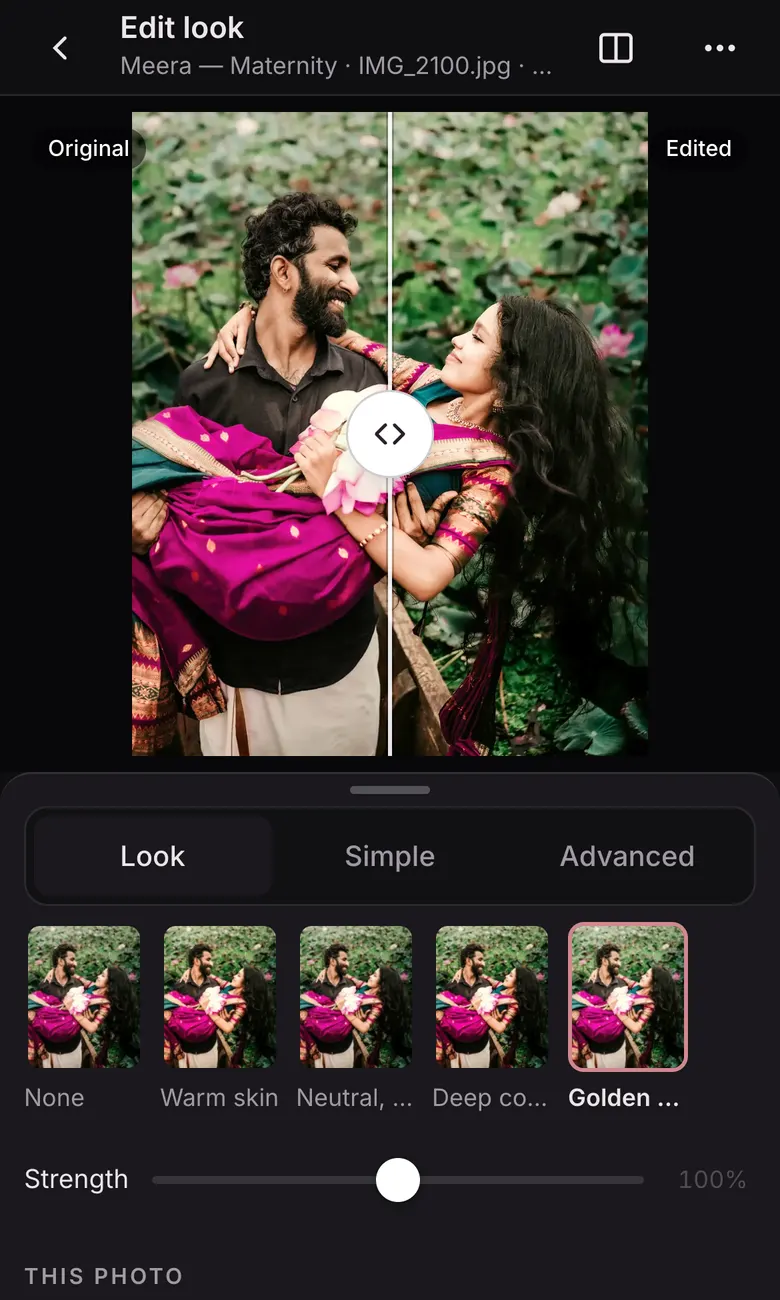
Step 2
Compare it
Drag the slider between the original and the edit. On a laptop, put them side by side or see the look on four different photos.
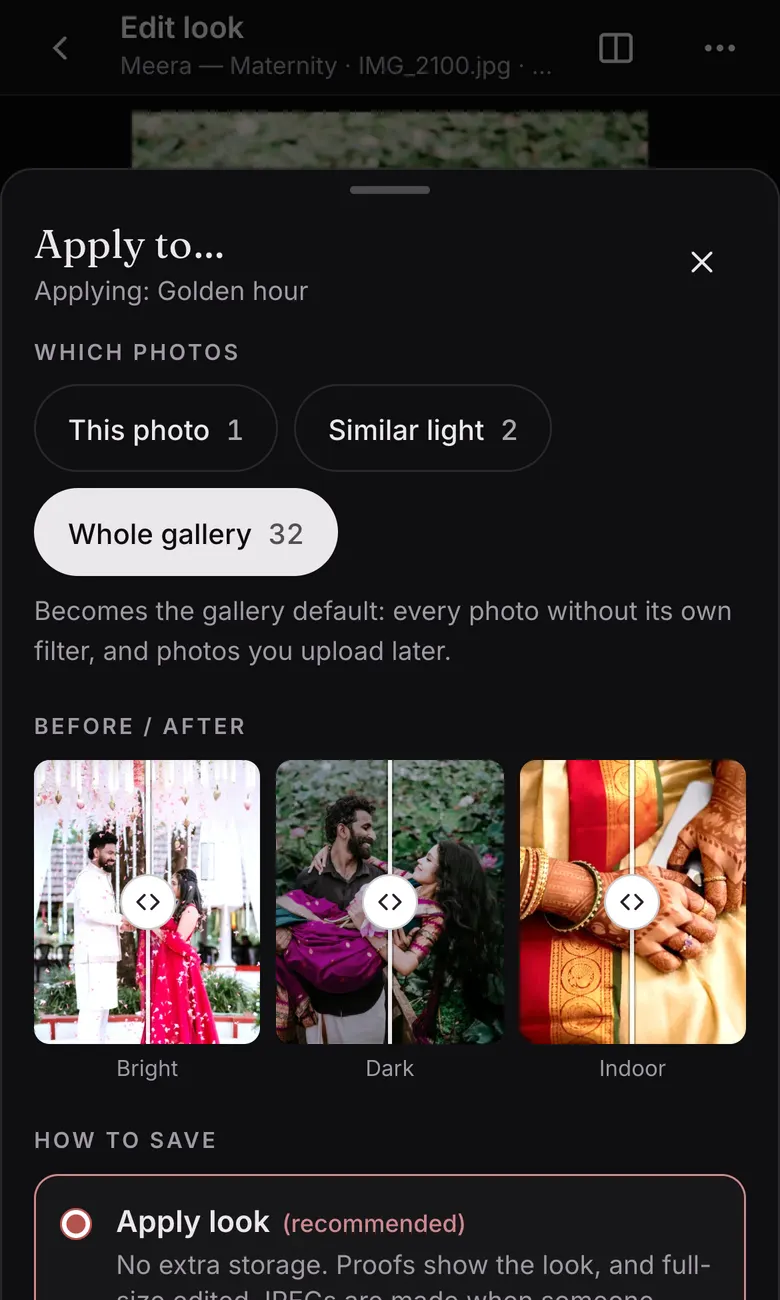
Step 3
Apply it
Choose the photos and how to save. The sheet shows three before/after samples and exactly how many credits it will use.
Your own look, not a pick-a-tone menu
Many cloud editors let you choose from the tones they ship. LensPilot lets you make the look, keep it, and use the presets you already have.
Where the look comes from
LensPilot: Yours: build it with sliders, or start from one of ours and change it
Typical: Usually picked from the tones the app offers
Your Lightroom presets and LUTs
LensPilot: Import .cube, .xmp, DNG and .lrtemplate files (paid plans)
Typical: Usually not
Trying a look
LensPilot: Free, on your own photos, with a before/after slider
Typical: Varies
Your originals
LensPilot: Kept, unless you choose to replace them — and then kept for 30 days
Typical: Often replaced by the edit
Skin tones
LensPilot: A Protect skin switch stops a look greying or lightening skin
Typical: Varies
Photos you edited in Lightroom
LensPilot: Never changed unless you choose them
Typical: Varies
Edit credits
Photo editorTrying looks and previews never use a credit. Only a full-size edit does, and one credit covers 3 full-size edits of the same photo.
Free credits with your plan
| Free | 100 to start, once |
| Starter | 200 a month |
| Pro | 300 a month |
| Studio 750 GB | 500 a month |
| Studio 1.5 TB | 500 a month |
| Studio 3 TB | 500 a month |
Need more? Buy a pack
500 credits
₹499
2,000 credits
₹1,799
5,000 credits
₹3,999
20,000 credits
₹13,999
50,000 credits
₹29,999
- Credits you buy never expire
- Your plan's monthly credits are used first
- Re-downloads and previews never use a credit
- Clients can always download, even when you run out